Problem: a FileMaker database should be made available for multiple user at the same time, in the local network but also from the internet.
Potential solutions
- Sharing the FileMaker database as file e.g using a SMB / NFS share in the local network. This only works for users in the local network. If more than one user works with the database at the same time, this will lead to data inconsistencies or errors.
- Sharing the FileMaker database as file using Dropbox / Google Drive / … . This works also for multiple user in the internet. Problem is similar to using a SMB/NFS share – editing the database at the same time is a problem.
- Using FileMaker Server to host the database and make it available to multiple users at the same time. Good solution for users in the same network, but not working for users that are not in the same network.
- FileMaker Server and VPN => requires an additional VPN server that the user can log into the same network as the FileMaker server is located in. Problem: the external users will get access to the whole network. If you already have the infrastructure and need a high-secure solution – this is your solution; probably not a valid solution for quick setup with only a few external people and freelancers requiring temporary access to the database.
- FileMaker Server, port – forwarding and dynamic dns provider: the external user can login to the FIleMaker server at the same time and from the internet, using an easy to remember url as e.g. myfms.dyndns.org.
Backdraft: the FileMaker Server port is available on the internet and anybody knowing the login credentials could log in. FileMaker claims that this access is encrypted and secure – but you know, everything on the internet (and even on a computer/mac) might get compromised.
The last proposal (FileMaker Server 15, port forwarding and dynamic dns provider) is – in our use case – the best solution and will be described in the next sections. A similar solution is also described on the support portal.

Step 1: install FileMaker Server 15
Install FileMaker Server 15 on a Mac that is running all day (so e.g. on an iMac, but probably not on a MacBook Air/Pro laptop). Please check the hardware and operating system requirements as described at the FileMaker Server 15 – technical specifications.
In our case, it was a 6+ year old iMac 21″ with Mac OS X Yosemite 10.10 and only 4 GB of RAM – definitely on the lower range of the system requirements. If you host a bigger database and/or more than 2-5 users, the hardware should have more RAM, at least 4 cpu cores and enough hard disk space.
Just follow the installation procedure. Normally you won’t need to use a local LDAP directory for user accounts and login management if you only have a few external users. But if your company has such a system, you should connect both systems to manage users easily and comfortable single sign-on.
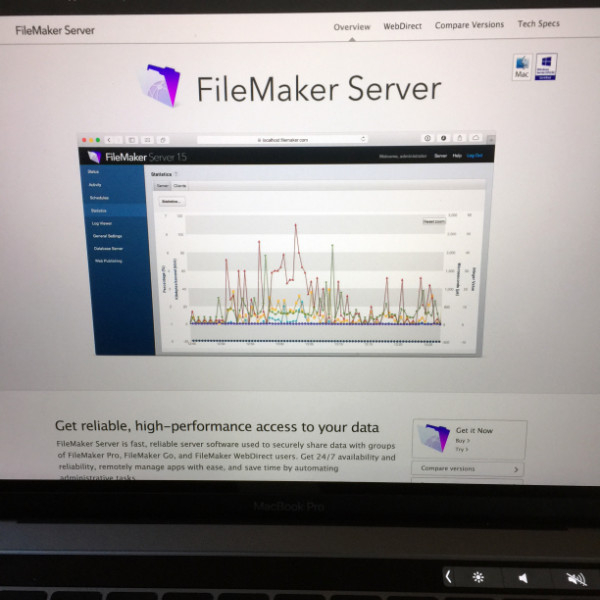
Finally, you can login to the web administration interface using a browser as Safari.
Step 2: uploading the FileMaker database and checking access rights
Start the FileMaker Pro on your Mac and open the database . There you can export the database to the newly created FileMaker Server. You are asked to enter the login credentials of the admin user that has been created in step 1.
When successfully uploaded, you should see the database in the web administration interface of FileMaker server, and a new user client for the user that uploaded the database.
You can now create more user on the FileMaker Pro client.
All users should now be able to login to the shared FileMaker database on the FileMaker server.
Step 3: make the FileMaker Server available to the internet
Check with the cable modem or router of your internet service provider (ISP). Nearly every router provides a feature called “port forwarding” that tunnels a public accessible port on the router to an internal server.
Add a port forwarding rule for port 3005 to the ip of the Mac that hosts our FileMaker server. This is enough if you are only using the FileMaker client and not the web interface. More information and ports e.g. necessary for the web interface + admin interface are described at http://help.filemaker.com/app/answers/detail/a_id/9770/~/port-forwarding-information .
Bonus tip: normally, the IP address of the mac will be assigned dynamically using DHCP and might change from time to time. This would interfere with the ip used for the port forwarding. So the Mac should use a static IP address, or a DHCP reservation should be added.
You should now be able to access the FileMaker Server from the internet using the public IP of the router.
Please note – this did NOT work from the internal network using the external IP. You should use e.g. tethering from your smartphone to test this successful.
Step 4: use a dyn-dns provider to make the server available with an easy to remember name
There are various dyn-dns provider as e.g. www.dyn.com (former called dyndns) available. We registered a free account at no ip – the registration process is easy, fast and only requires a confirmation check every 30 days. The client available at http://www.noip.com/download?page=mac should be downloaded to the Mac that hosts the FileMaker Server (or another mac in the same network), and the login credentials entered into the settings dialog.
Step 5: inform your (external) users
Inform your external users that the FileMaker database is available using
- The hostname as defined in step 4
- The client + password that has been created in step 2
That’s it.
Conclusion
In about 30-60 minutes you can make your FileMaker database available to your team in the local network, and on the internet – with a good user access management and synchronization of same-time working users. Except the license of the server and the required hardware + internet connection, there are no additional costs.
